|
4 min read
Setting up auto-crawl for your AI Chat: always up-to-date answers
Read more


Installing the WhatsApp chat widget from Wappy is simple, especially if you are familiar with Google Tag Manager. To help you get started, we have created a guide for installing Google Tag Manager. Follow the steps below and you can get started in just a few minutes!
Last updated: 12 Feb 2026
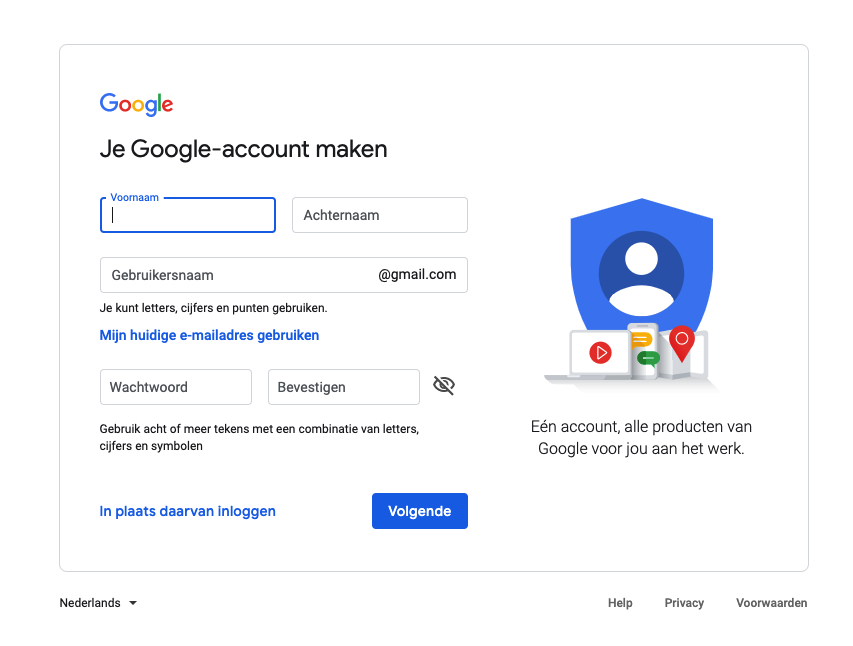
To get started, you need a Google account. Fortunately, you can create one easily.
Already have a Google account? Then you can of course skip this step!
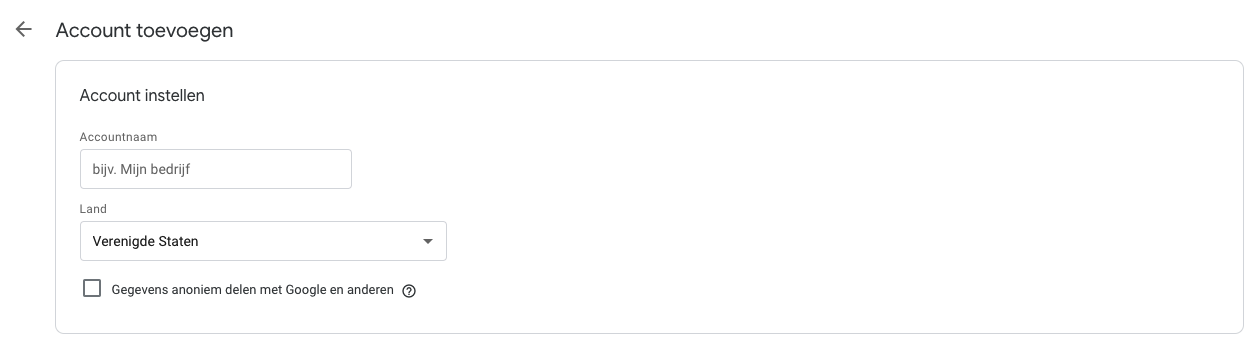
Next, you can create an account for Google Tag Manager. You can use the following link: create GTM account.
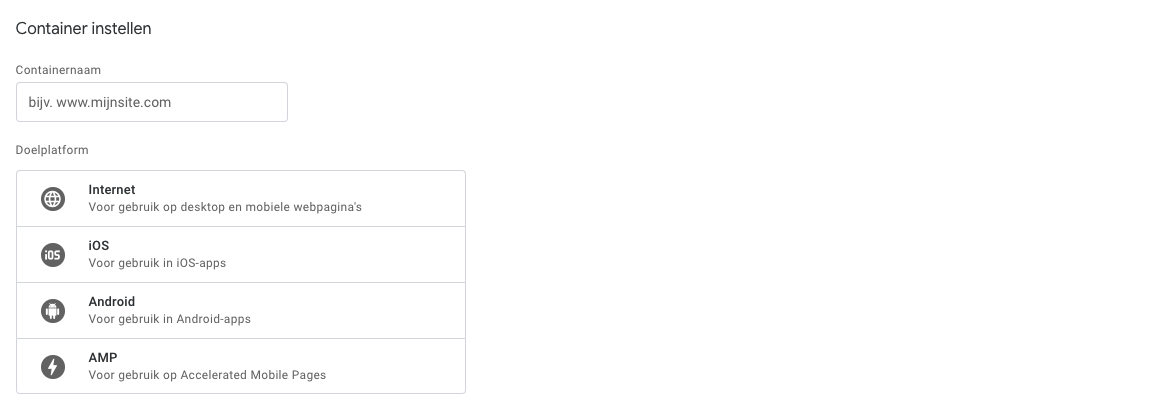
Once you have an account for Google Tag Manager, a new container is created by default. To set this up, you only need to fill in your domain name, without 'https' or 'http', and select the 'web' option.
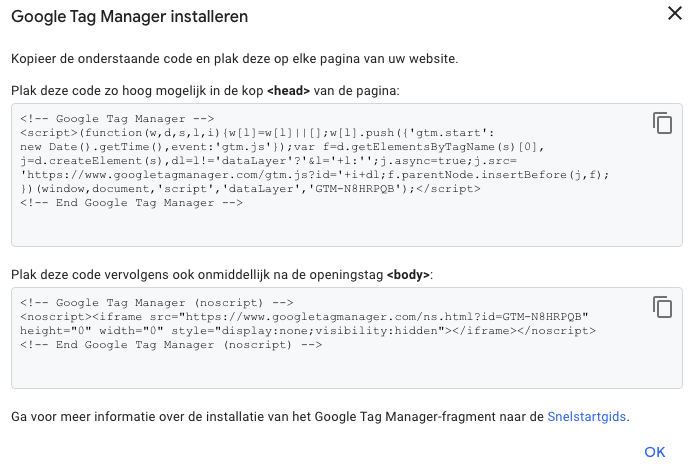
If all goes well, you will now be asked if you accept the terms. If you do, you will see a screen with two copyable codes. One code should be placed in the 'head' of your website, the other in the 'body'.
How this is done varies by website. For WordPress, you can use a plugin, but for other sites, it may be different. So check the documentation of your system or ask your web developer to do this for you!
Congratulations, you can now use Google Tag Manager!
Of course, you want to take advantage of Wappy as soon as possible. To install Wappy, you only need to follow a few simple steps. Read here to find out how to do this easily.
niice
Wappy helps businesses connect with website visitors through WhatsApp. With over 2,400 websites using our widget, we share practical tips on WhatsApp Business and customer communication.
End of this Wappy article🤓


Do you want to try Wappy first? Then we have a free version available for you!
Over 2,400 websites use Wappy for customer contact