|
4 min read
Setting up auto-crawl for your AI Chat: always up-to-date answers
Read more


As we mentioned earlier, it is possible to have Wappy's WhatsApp widget appear only on certain days on your website. It may also be the case that you want the widget to appear only on certain pages, for example, on your pricing page. This could be because you expect the most questions here. How to set the widget to appear only on certain pages is explained here!
Last updated: 12 Feb 2026
Go to Google Tag Manager and click on your account. Don't have an account for Google Tag Manager yet? Here's how to create one and here you can read how to install your WhatsApp widget via Google Tag Manager.
In your Tag Manager workspace, you can click on the ‘triggers’ tab on the left. Your screen will then look just like the screen below. Create a new trigger.
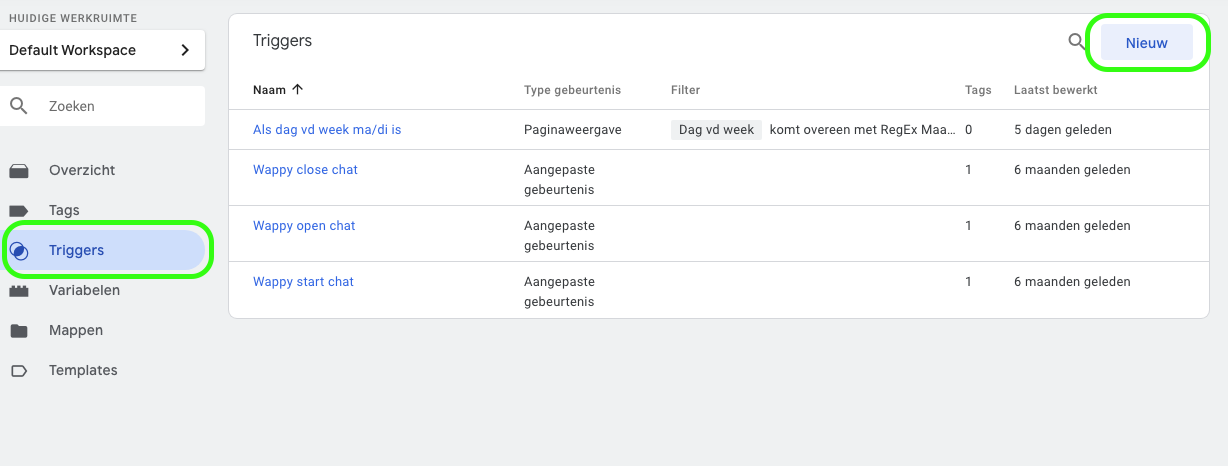
Give your trigger link a name at the top, for example ‘When page is prices’. You adjust the name to the page where you want the widget to appear.
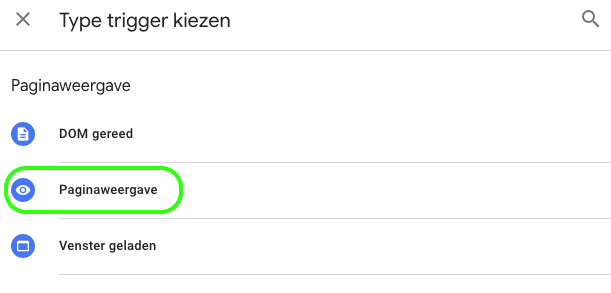
You can now choose a type of trigger by clicking on ‘trigger configuration’. Choose ‘page view’.
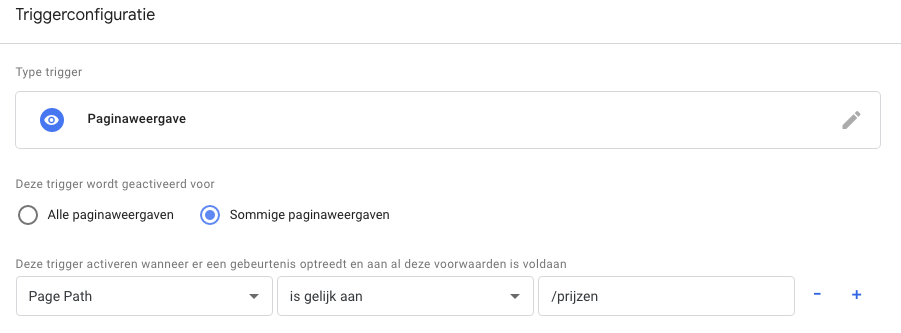
Now check that the trigger should be activated for certain page views. You can specify a number of conditions here. Since we want the widget to only appear on the prices page in this example, we choose the already existing variable 'page path'. Next, fill in 'is equal to' and '/prijzen'. Of course, you can fill in the last option according to your own preference.
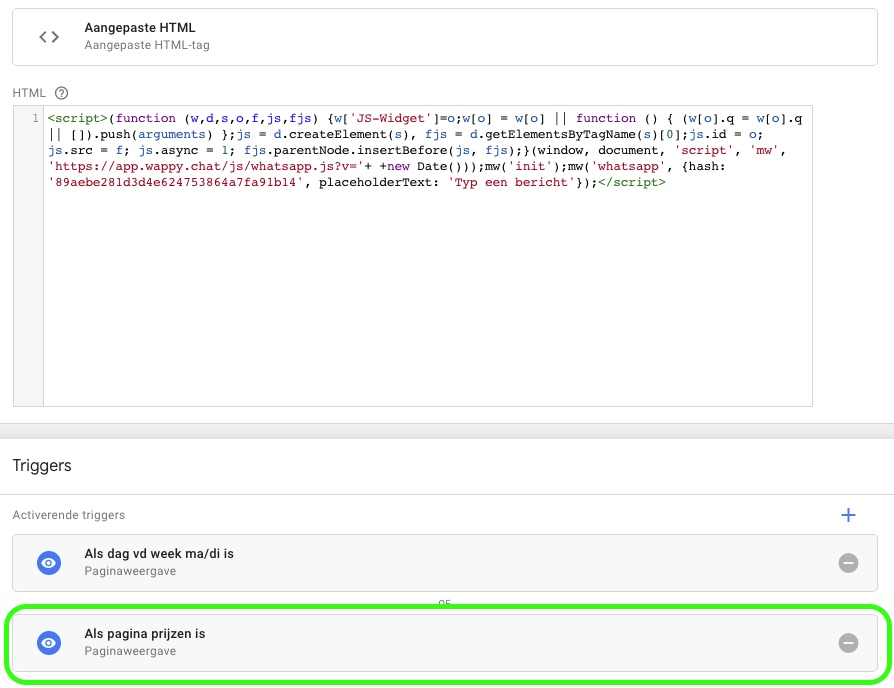
Now go to the Tags tab and click on your tag for the Wappy chat function. Here you can add or replace activating triggers. Change the trigger to 'if page is prices' or add this trigger. You can now save.
Now you just need to click 'save' and submit the changes, and your preferences have been adjusted.
Want to know more about what you can do with Wappy? In this blog you can read how to make Wappy appear only on certain days on your website or webshop. Additionally, combine Wappy with your WhatsApp Business account using this blog.
niice
Wappy helps businesses connect with website visitors through WhatsApp. With over 2,400 websites using our widget, we share practical tips on WhatsApp Business and customer communication.
End of this Wappy article🤓

Do you want to try Wappy first? Then we have a free version available for you!
Over 2,400 websites use Wappy for customer contact