|
4 min read
Setting up auto-crawl for your AI Chat: always up-to-date answers
Read more


A while ago, we received the question of whether it is possible to set up absence messages or indicate absence in Wappy. We have tried to provide as comprehensive an answer as possible. So read on quickly!
Last updated: 12 Feb 2026
Earlier we discussed the benefits of WhatsApp Business and why it works so well with Wappy's WhatsApp widget. One of the advantages is that you can specify your opening hours within WhatsApp Business. This means that customers can message you at any time and then see when they can expect a response!
Go to your settings in WhatsApp Business at the top right. Click on the option 'business tools' and then on 'business profile'. Here you can see all the information you can provide to your WhatsApp users about your business. To add your opening hours, click on the pencil icon at the top right. Set your opening hours and you're done!
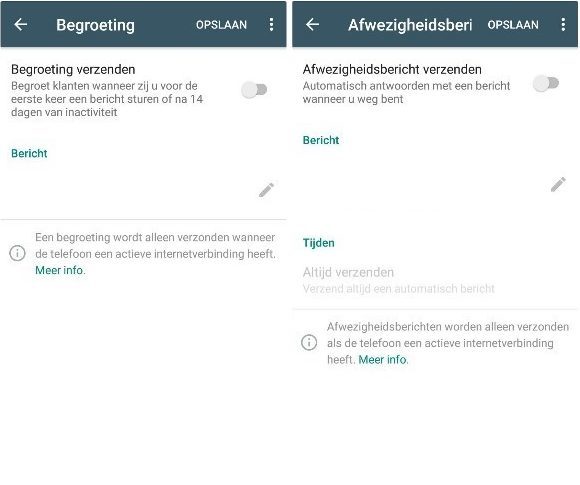
Within WhatsApp Business, it is also possible to set up automatic messages. There are various message settings available, but the two options that are interesting in case of absence are as follows:
Go to settings and then to business settings. Here you click on out-of-office message or greeting. Here you can personalize your message!
Lastly, there is the option to set days (and hours) via Google Tag Manager when the widget appears on your website. Although this removes the advantage of Wappy that you are reachable at all times, it does mean that, when you can only respond on certain days, potential customers receive a response sooner. We advise against this, but we want to give you the option. For example, for a period with several holidays on Mondays! This is a technical option, so it might be easier to have your web developer take a look at it.
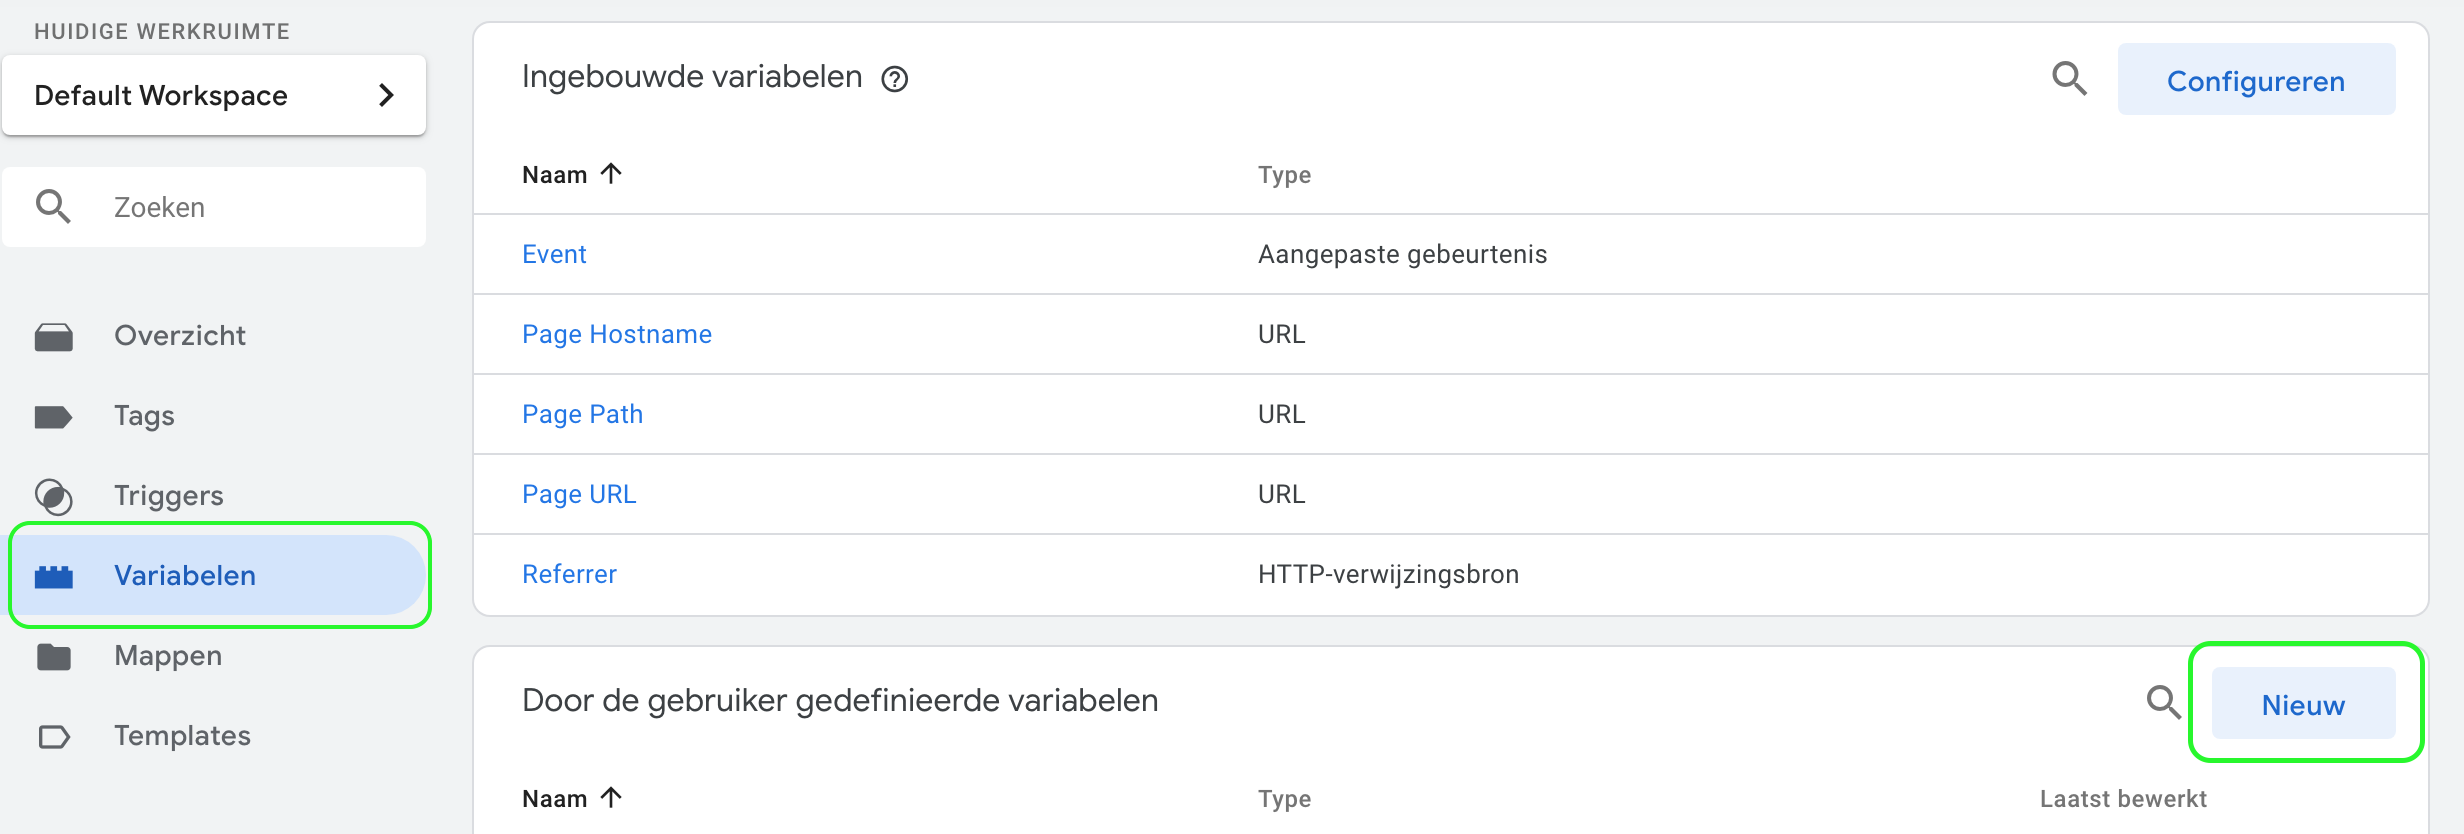
Go to 'variables' within Tag Manager. Create a new 'user-defined variable' here.
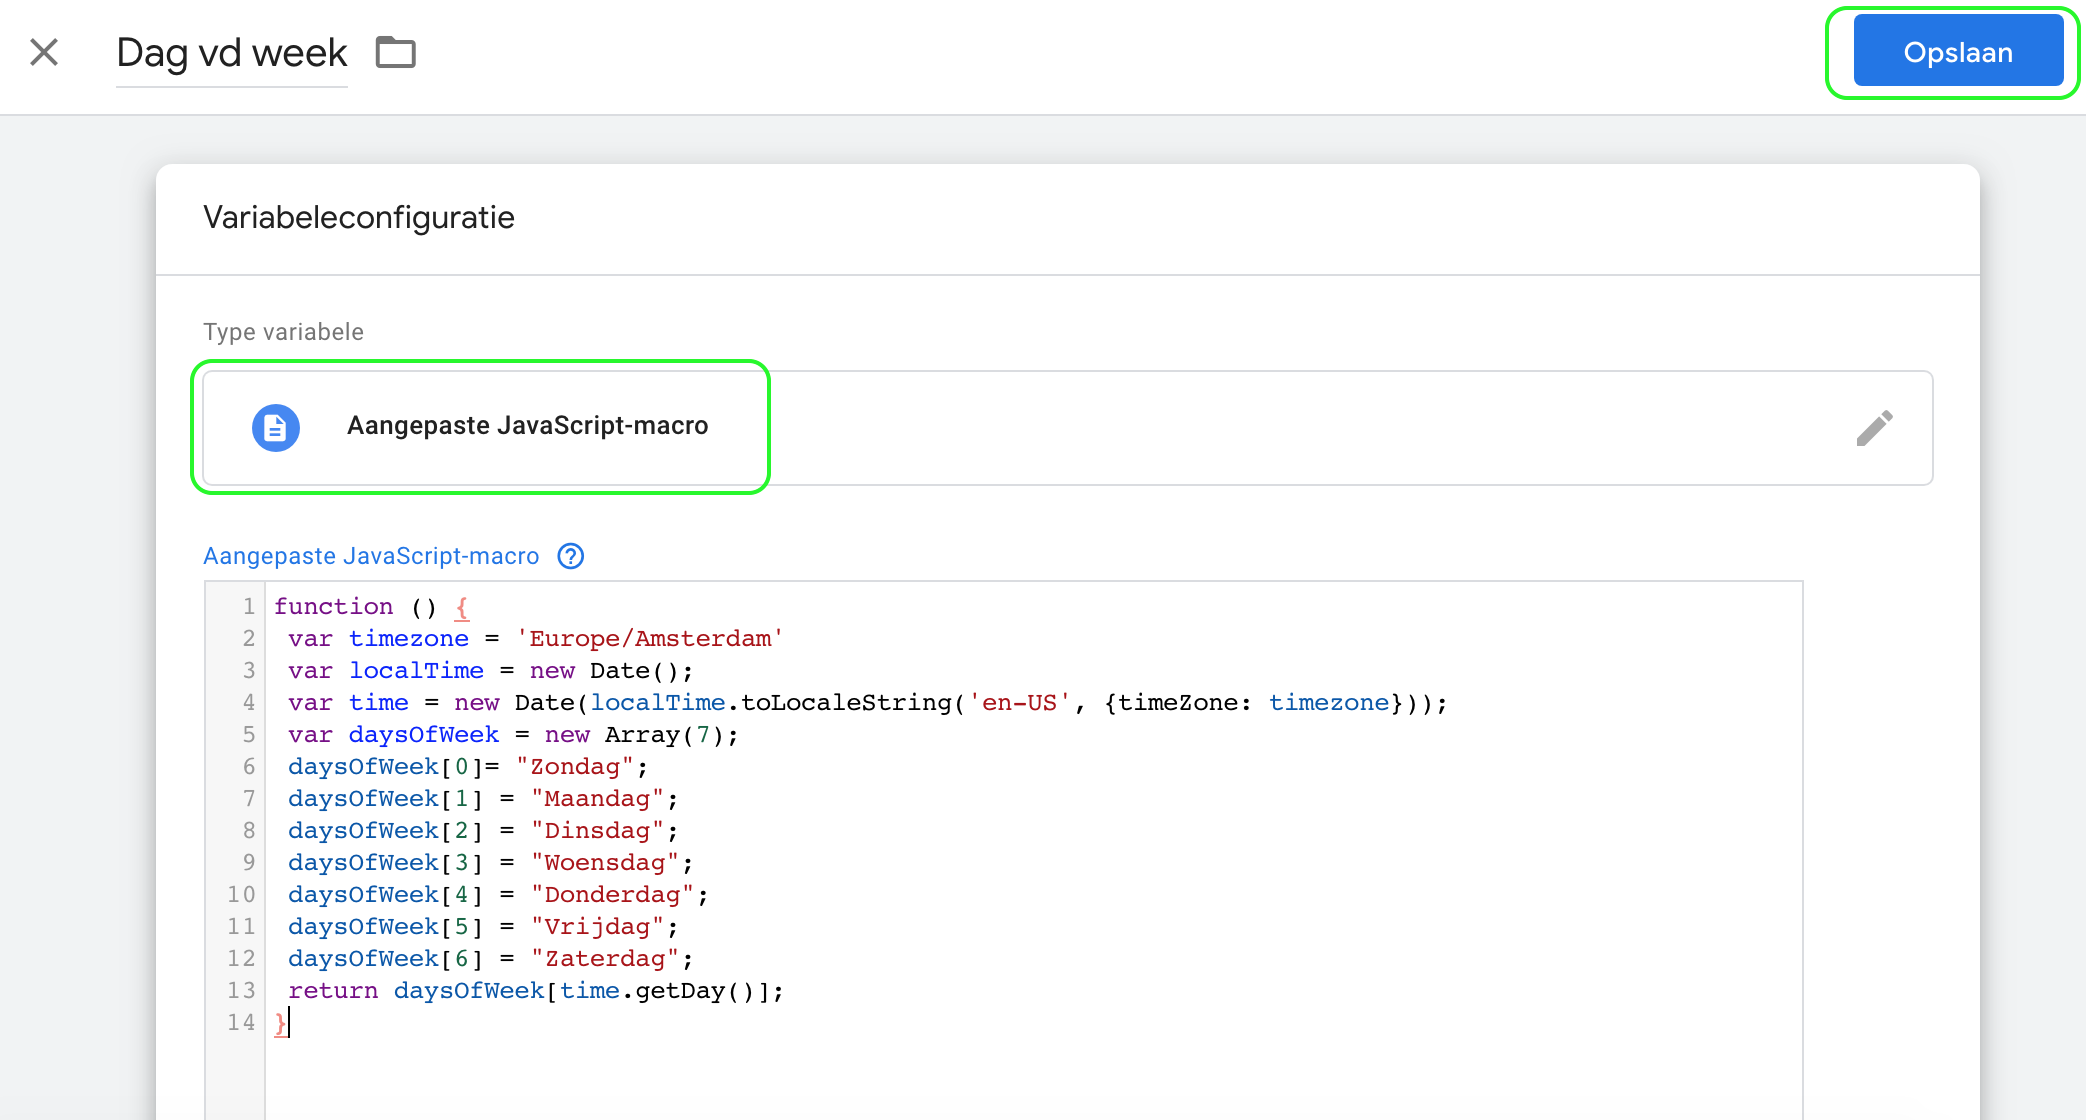
Search for 'javascript' using the search function and select 'custom javascript macro'. Here you paste the following code and save it:
function () { var timezone = 'Europe/Amsterdam' var localTime = new Date(); var time = new Date(localTime.toLocaleString('en-US', {timeZone: timezone})); var daysOfWeek = new Array(7); daysOfWeek[0]= "Sunday"; daysOfWeek[1] = "Monday"; daysOfWeek[2] = "Tuesday"; daysOfWeek[3] = "Wednesday"; daysOfWeek[4] = "Thursday"; daysOfWeek[5] = "Friday"; daysOfWeek[6] = "Saturday"; return daysOfWeek[time.getDay()]; }
Now go to triggers and create a new trigger of the type 'page view'. Name it 'If day of the week ... is'. We have chosen Monday or Tuesday here, but of course, you choose the days that you want the widget to be displayed on your website.
Set the trigger to be activated for 'some page views' and fill in the fields. In the first field, select the variable you just created, namely 'day of the week'. In the second field, choose 'matches RegEx' and in the third field, enter the days on which the widget should be displayed on your website (note, case sensitive). Separate the days with a vertical bar (pipe: | ).
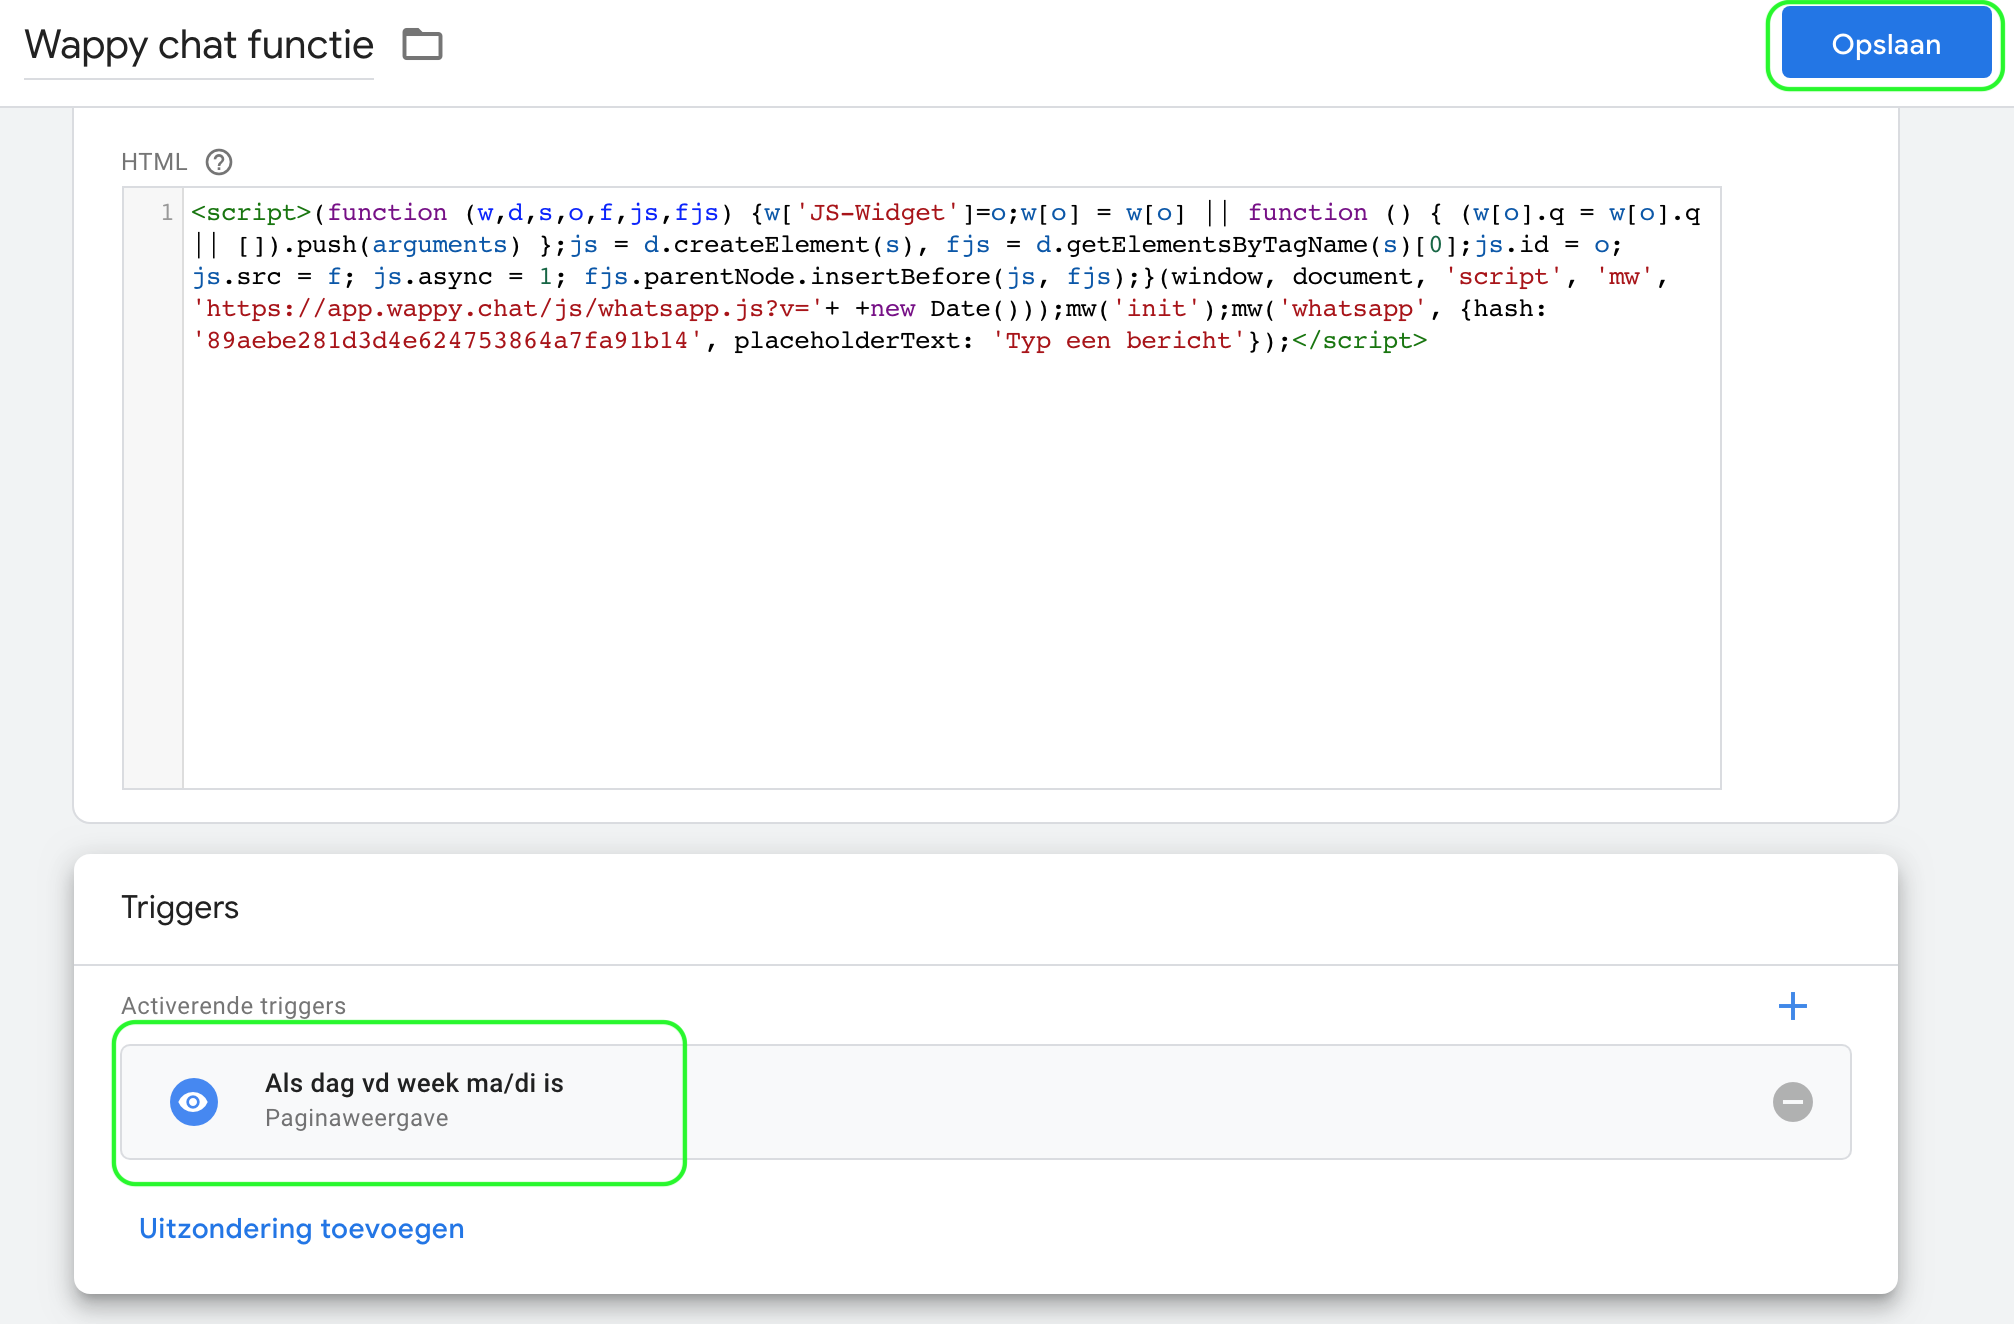
Go to the tags tab. Here you have two options, depending on whether you have already created a tag for Wappy. Do you already have a tag? Then click on it and adjust the activating trigger to the trigger you just created: if the day of the week is Mon/Tue.
Do you not have a tag yet? Then create a new tag and choose the type 'custom html'. In this blog you can read more about it. Here you paste your Wappy implementation code and choose the trigger you just created.
You can now save.
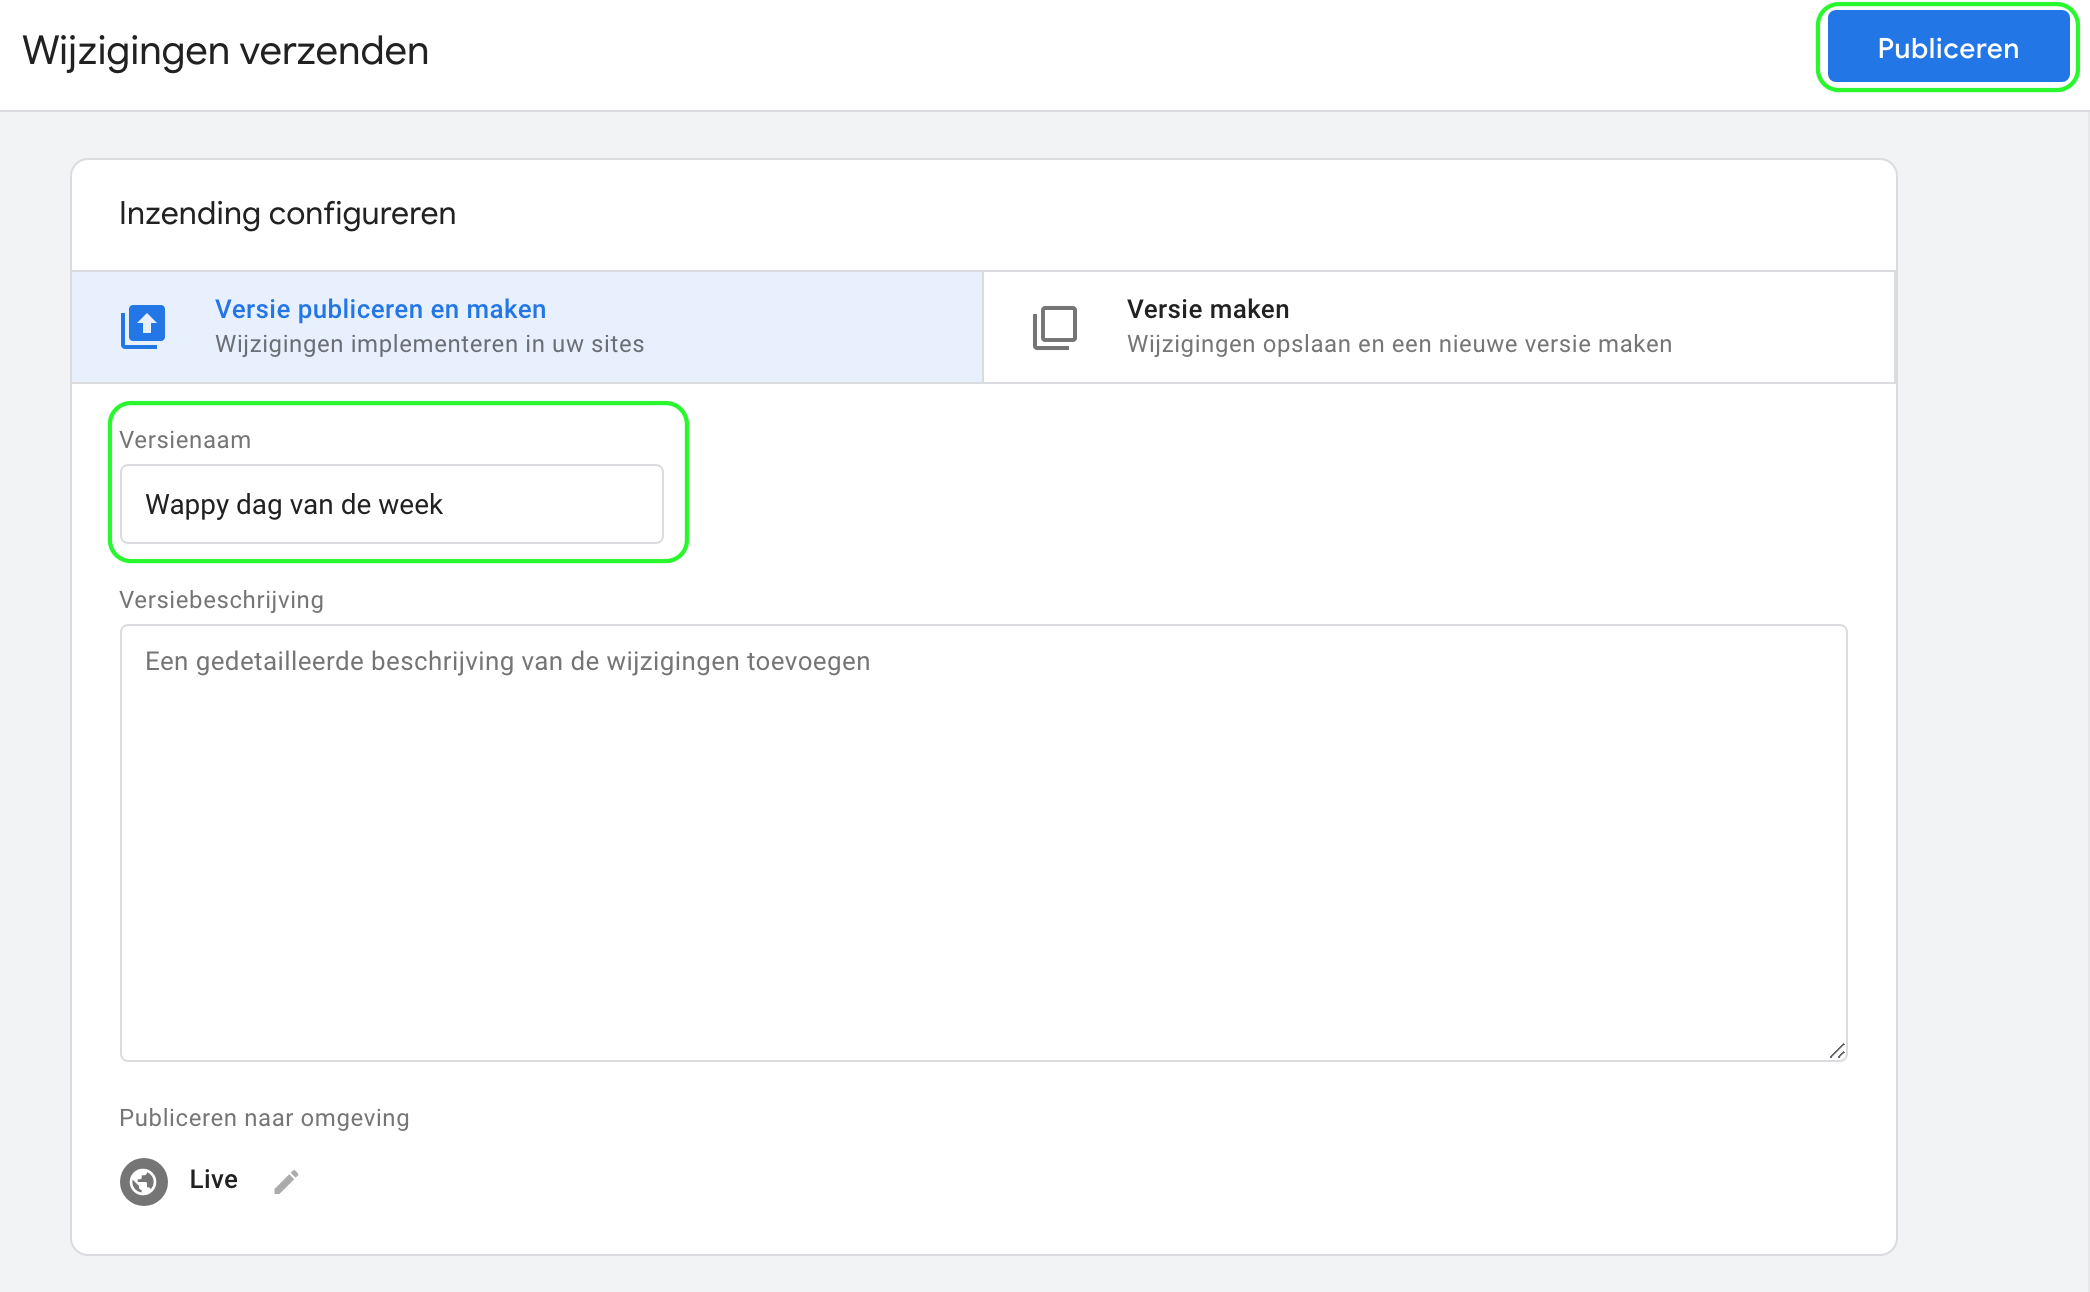
Click on send. Here you give your changes a version name and describe what you just did. Now you can publish.
Curious about other ways to personalize your widget? Then read this blog.
Want to know more about Wappy and your next step? Then read more about Wappy premium.
niice
Wappy helps businesses connect with website visitors through WhatsApp. With over 2,400 websites using our widget, we share practical tips on WhatsApp Business and customer communication.
End of this Wappy article🤓


Do you want to try Wappy first? Then we have a free version available for you!
Over 2,400 websites use Wappy for customer contact